Script & Scenes
Write the screenplay, organize scenes and plan the sequence.
A dedicated native macOS app with a first-of-its-kind connected filmmaking workflow. Bring your screenplay, cast, world, shots and edit together in a workspace built for Mac.
macOS 26 or later Local film documents Your choice of AI providers
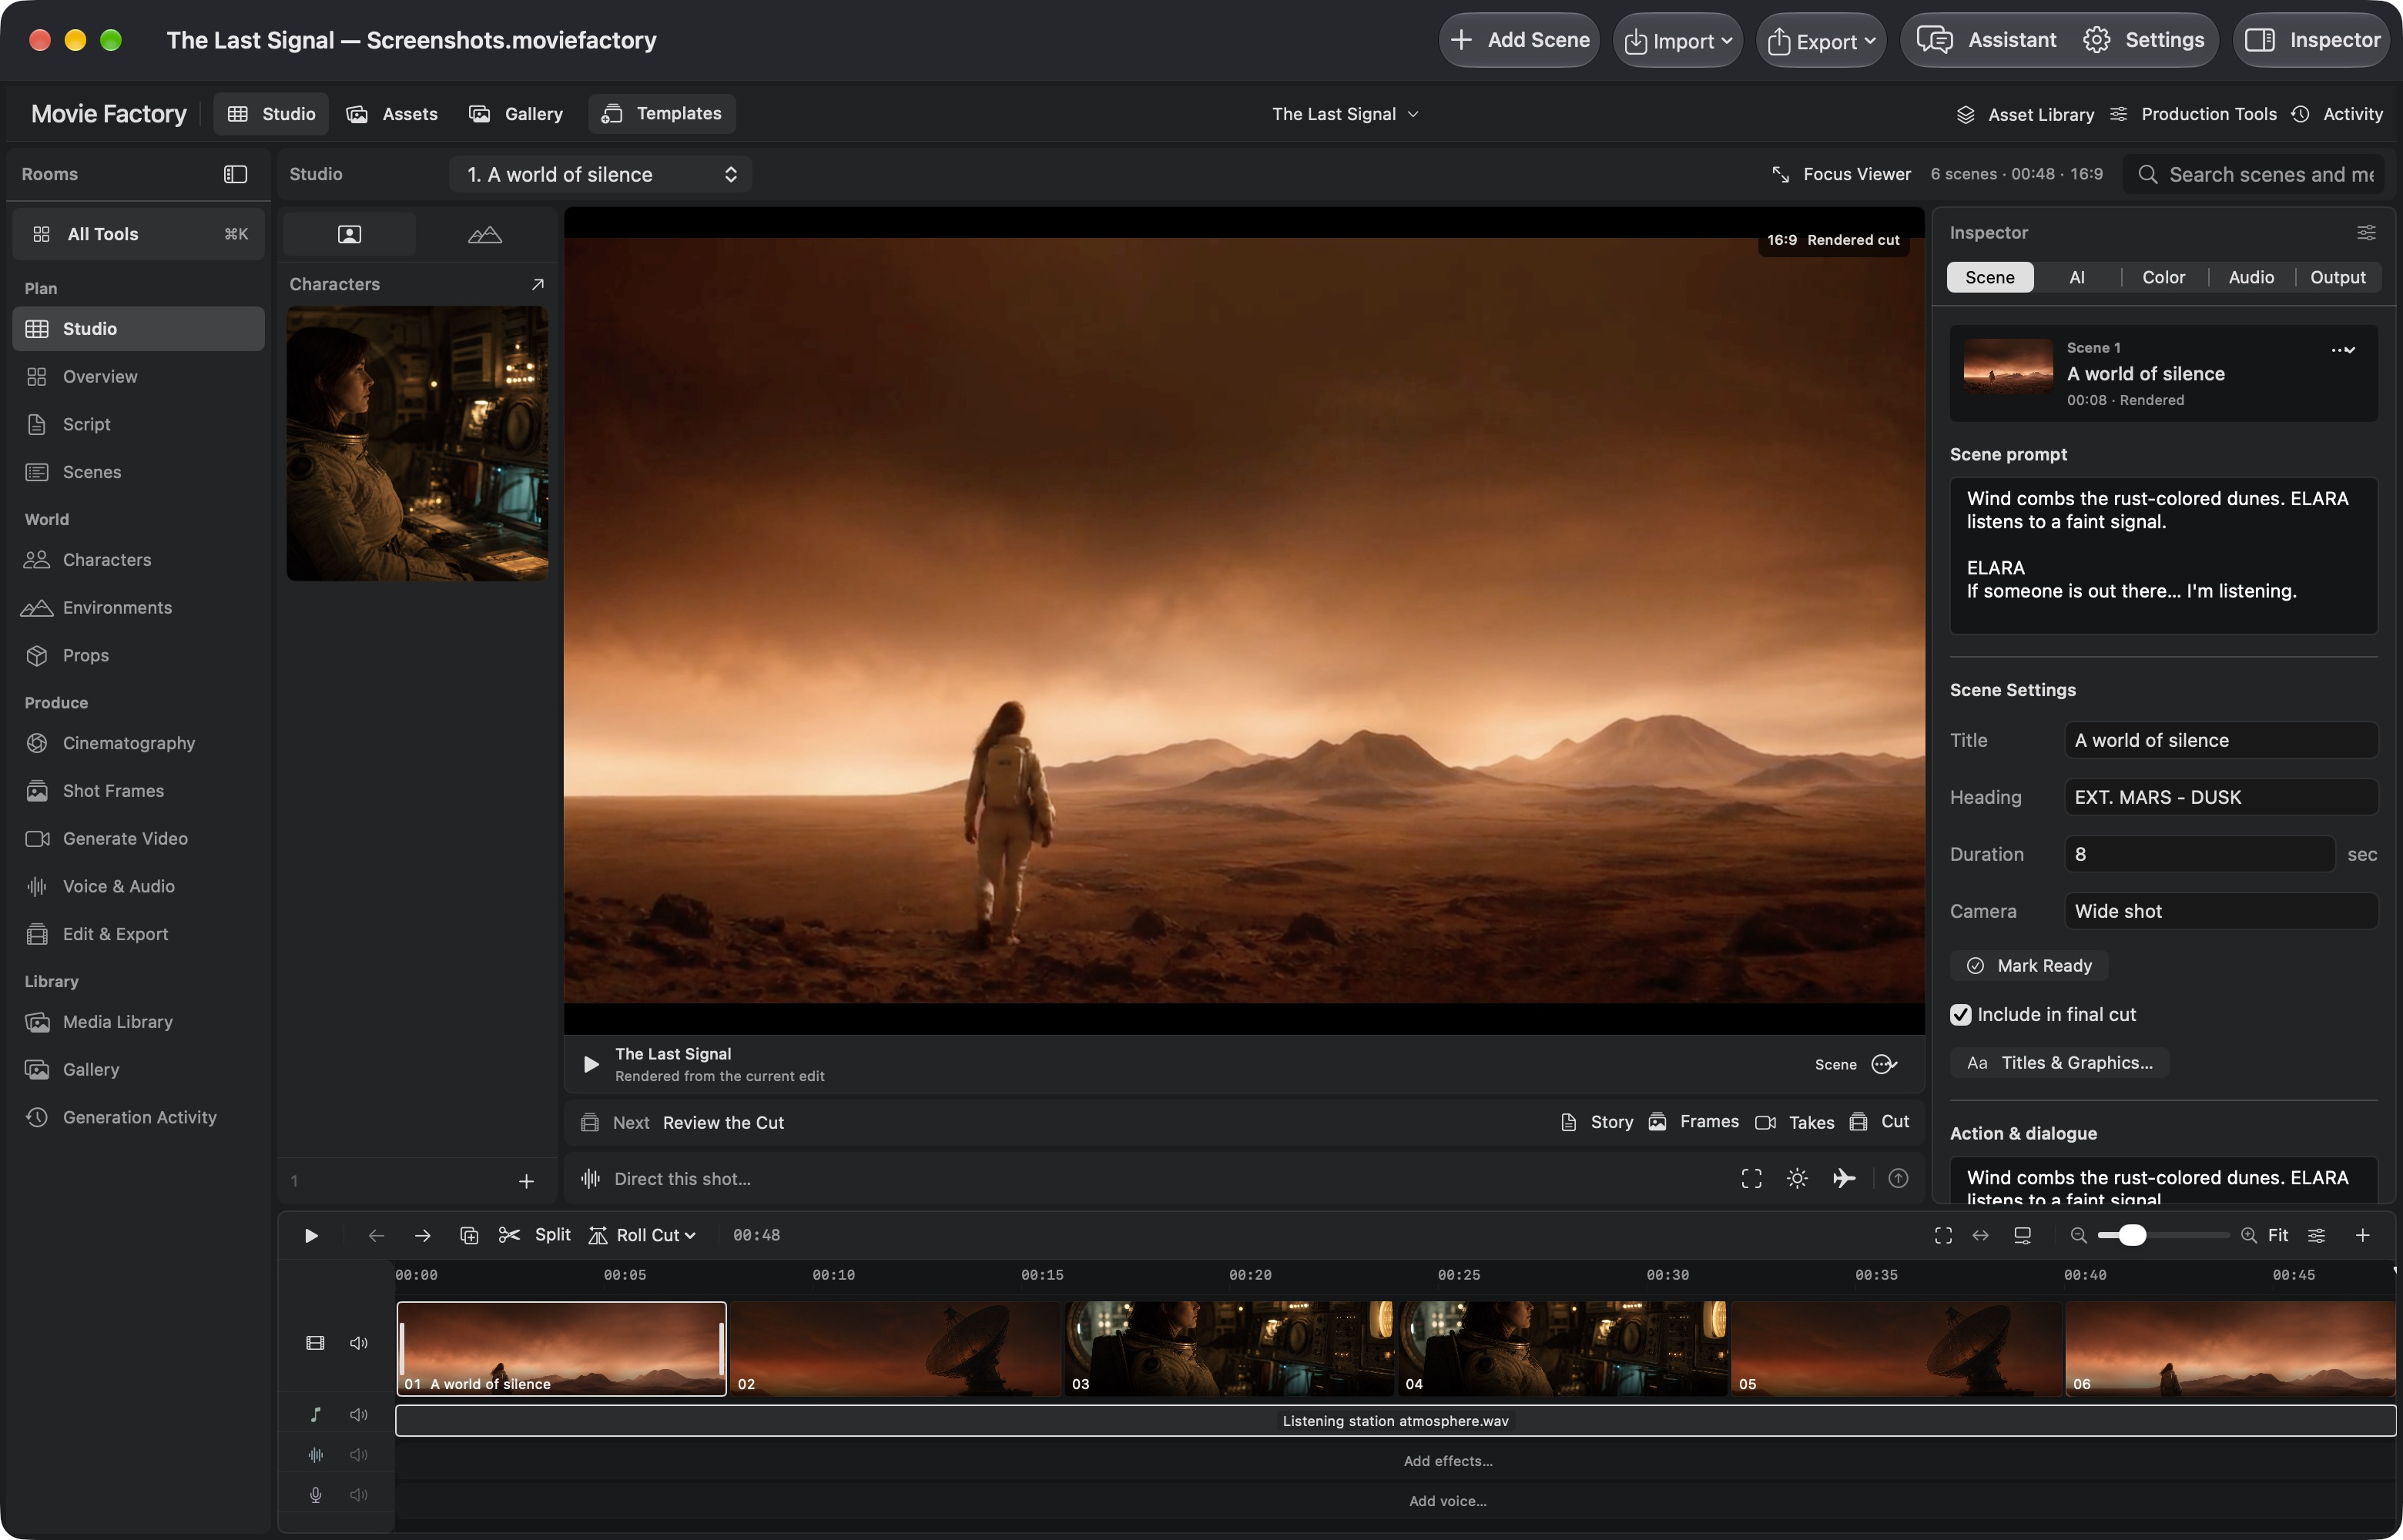
Actual native app captures, updated 30 October 2026. The sample film uses existing rendered clips and local demonstration audio; no provider account was used for these captures.
Five landmarks keep you oriented. Select a number on the screenshot or follow the guide below.
The Rooms sidebar groups fifteen connected rooms under Plan, World, Produce and Library. All Tools helps you find a tool or shot; Asset Library and Production Tools open focused workspaces from the header.
Use Working Scene to choose the shot you want to work on. The workspace and inspector follow that selection, keeping the story and production controls together.
Studio brings the scene preview, characters, environment, camera and audio into one view. Switch to a room for focused work, such as writing the screenplay or reviewing frames.
The right-hand inspector holds the selected scene’s prompt, title, heading, duration and camera settings. Use its Scene, AI, Color, Audio and Output tabs to reach the relevant controls.
Select and reorder shots, drag their trim handles, or use the Timeline menu for one-frame start and end adjustments. Snap and Ripple Audio help keep the cut and soundtrack aligned. Use the timeline’s Motion button for motion and transitions, and open Edit for delivery.
Start with your story. Add the tools and references that serve it.
Create a new film or open an existing .moviefactory document. Use the included example to explore the interface; its sample media stays distinct from your own finished footage.
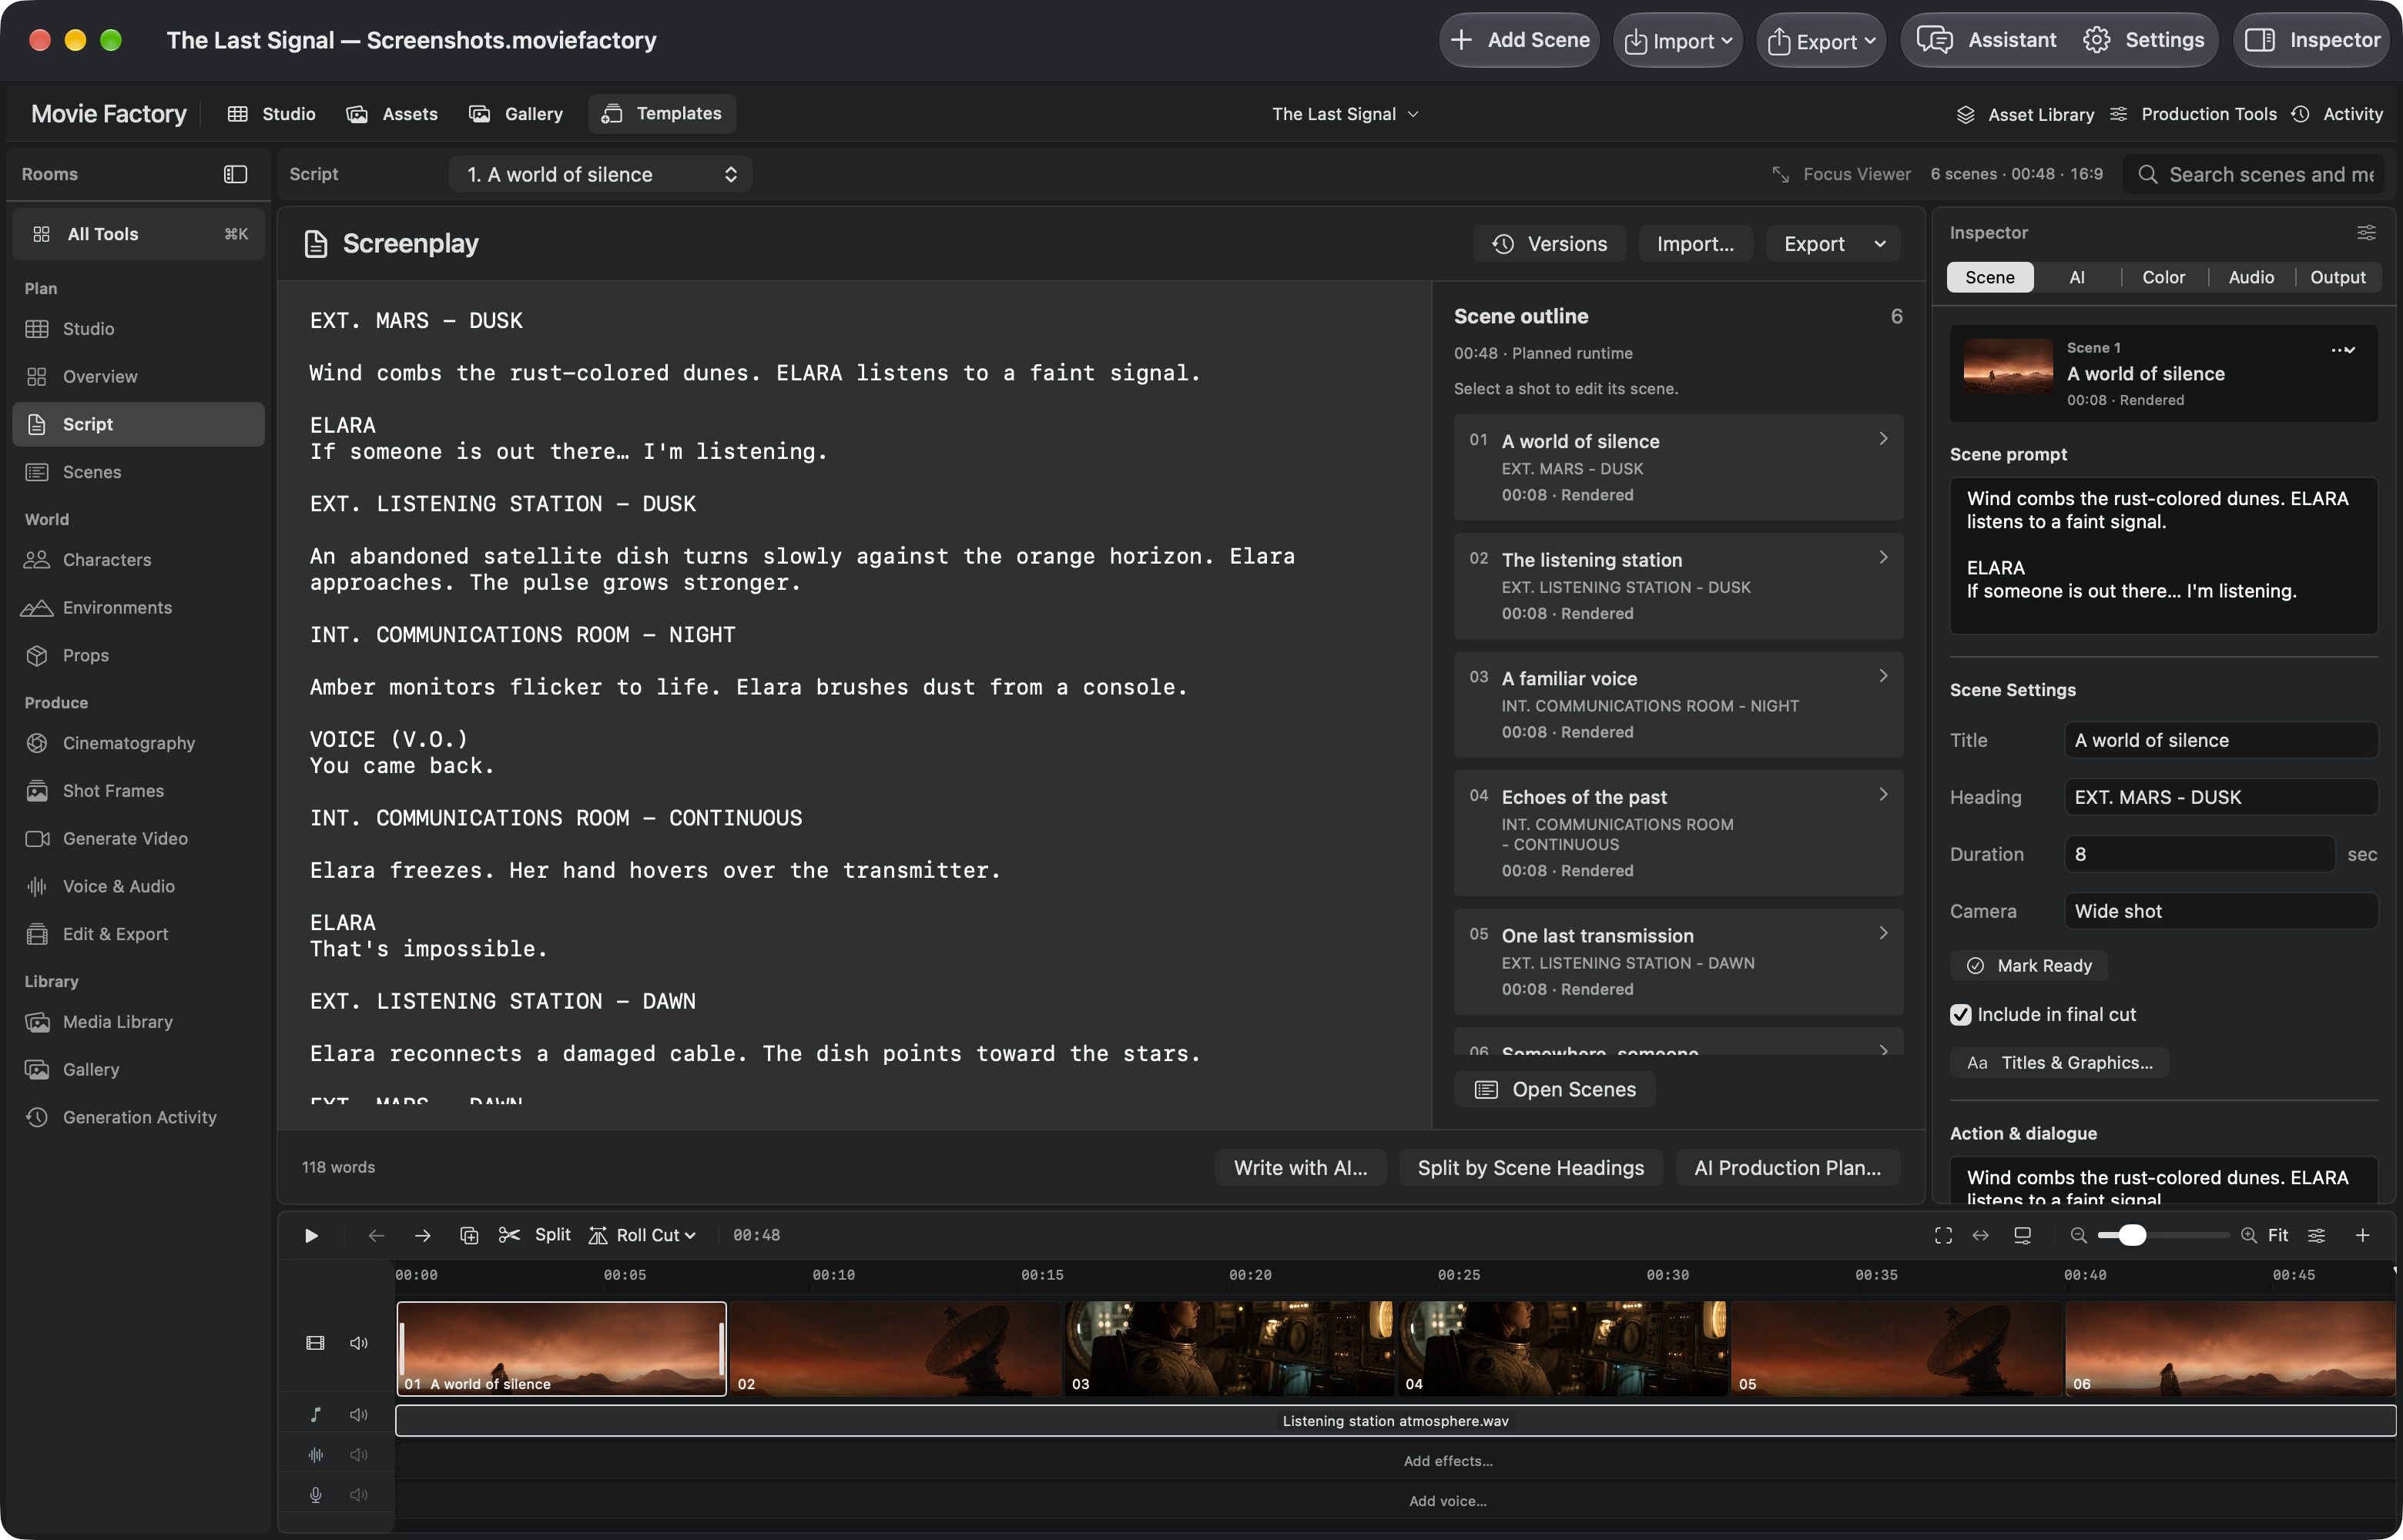
Open Script to write or import your screenplay. Split by Scene Headings creates the scene structure. Review the result before developing the shots.
Add characters, environments and props. Open Asset Library for reusable references and approved versions, and compose 3D sets from supported GLB models. Assets holds the current film’s media.
Open Settings → Providers to configure your own provider accounts or compatible local workflows. Choose image and video settings before submitting work; generation can consume provider credits.
Compare numbered takes and explicitly choose the ones for your cut. Trim shots, add titles and motion, measure the mix and export your movie. Save the film document; collect linked originals in a native portable archive for backup.
Move from a focused writing room to visual planning, generation, sound and editing without losing the production around it.
Write the screenplay, organize scenes and plan the sequence.
Build references and keep the visual identity of your production together.
Set shot direction, rehearse camera moves and inspect continuity evidence.
Approve reference versions, generate tracked opening and closing frames, and compare numbered video takes before choosing a result.
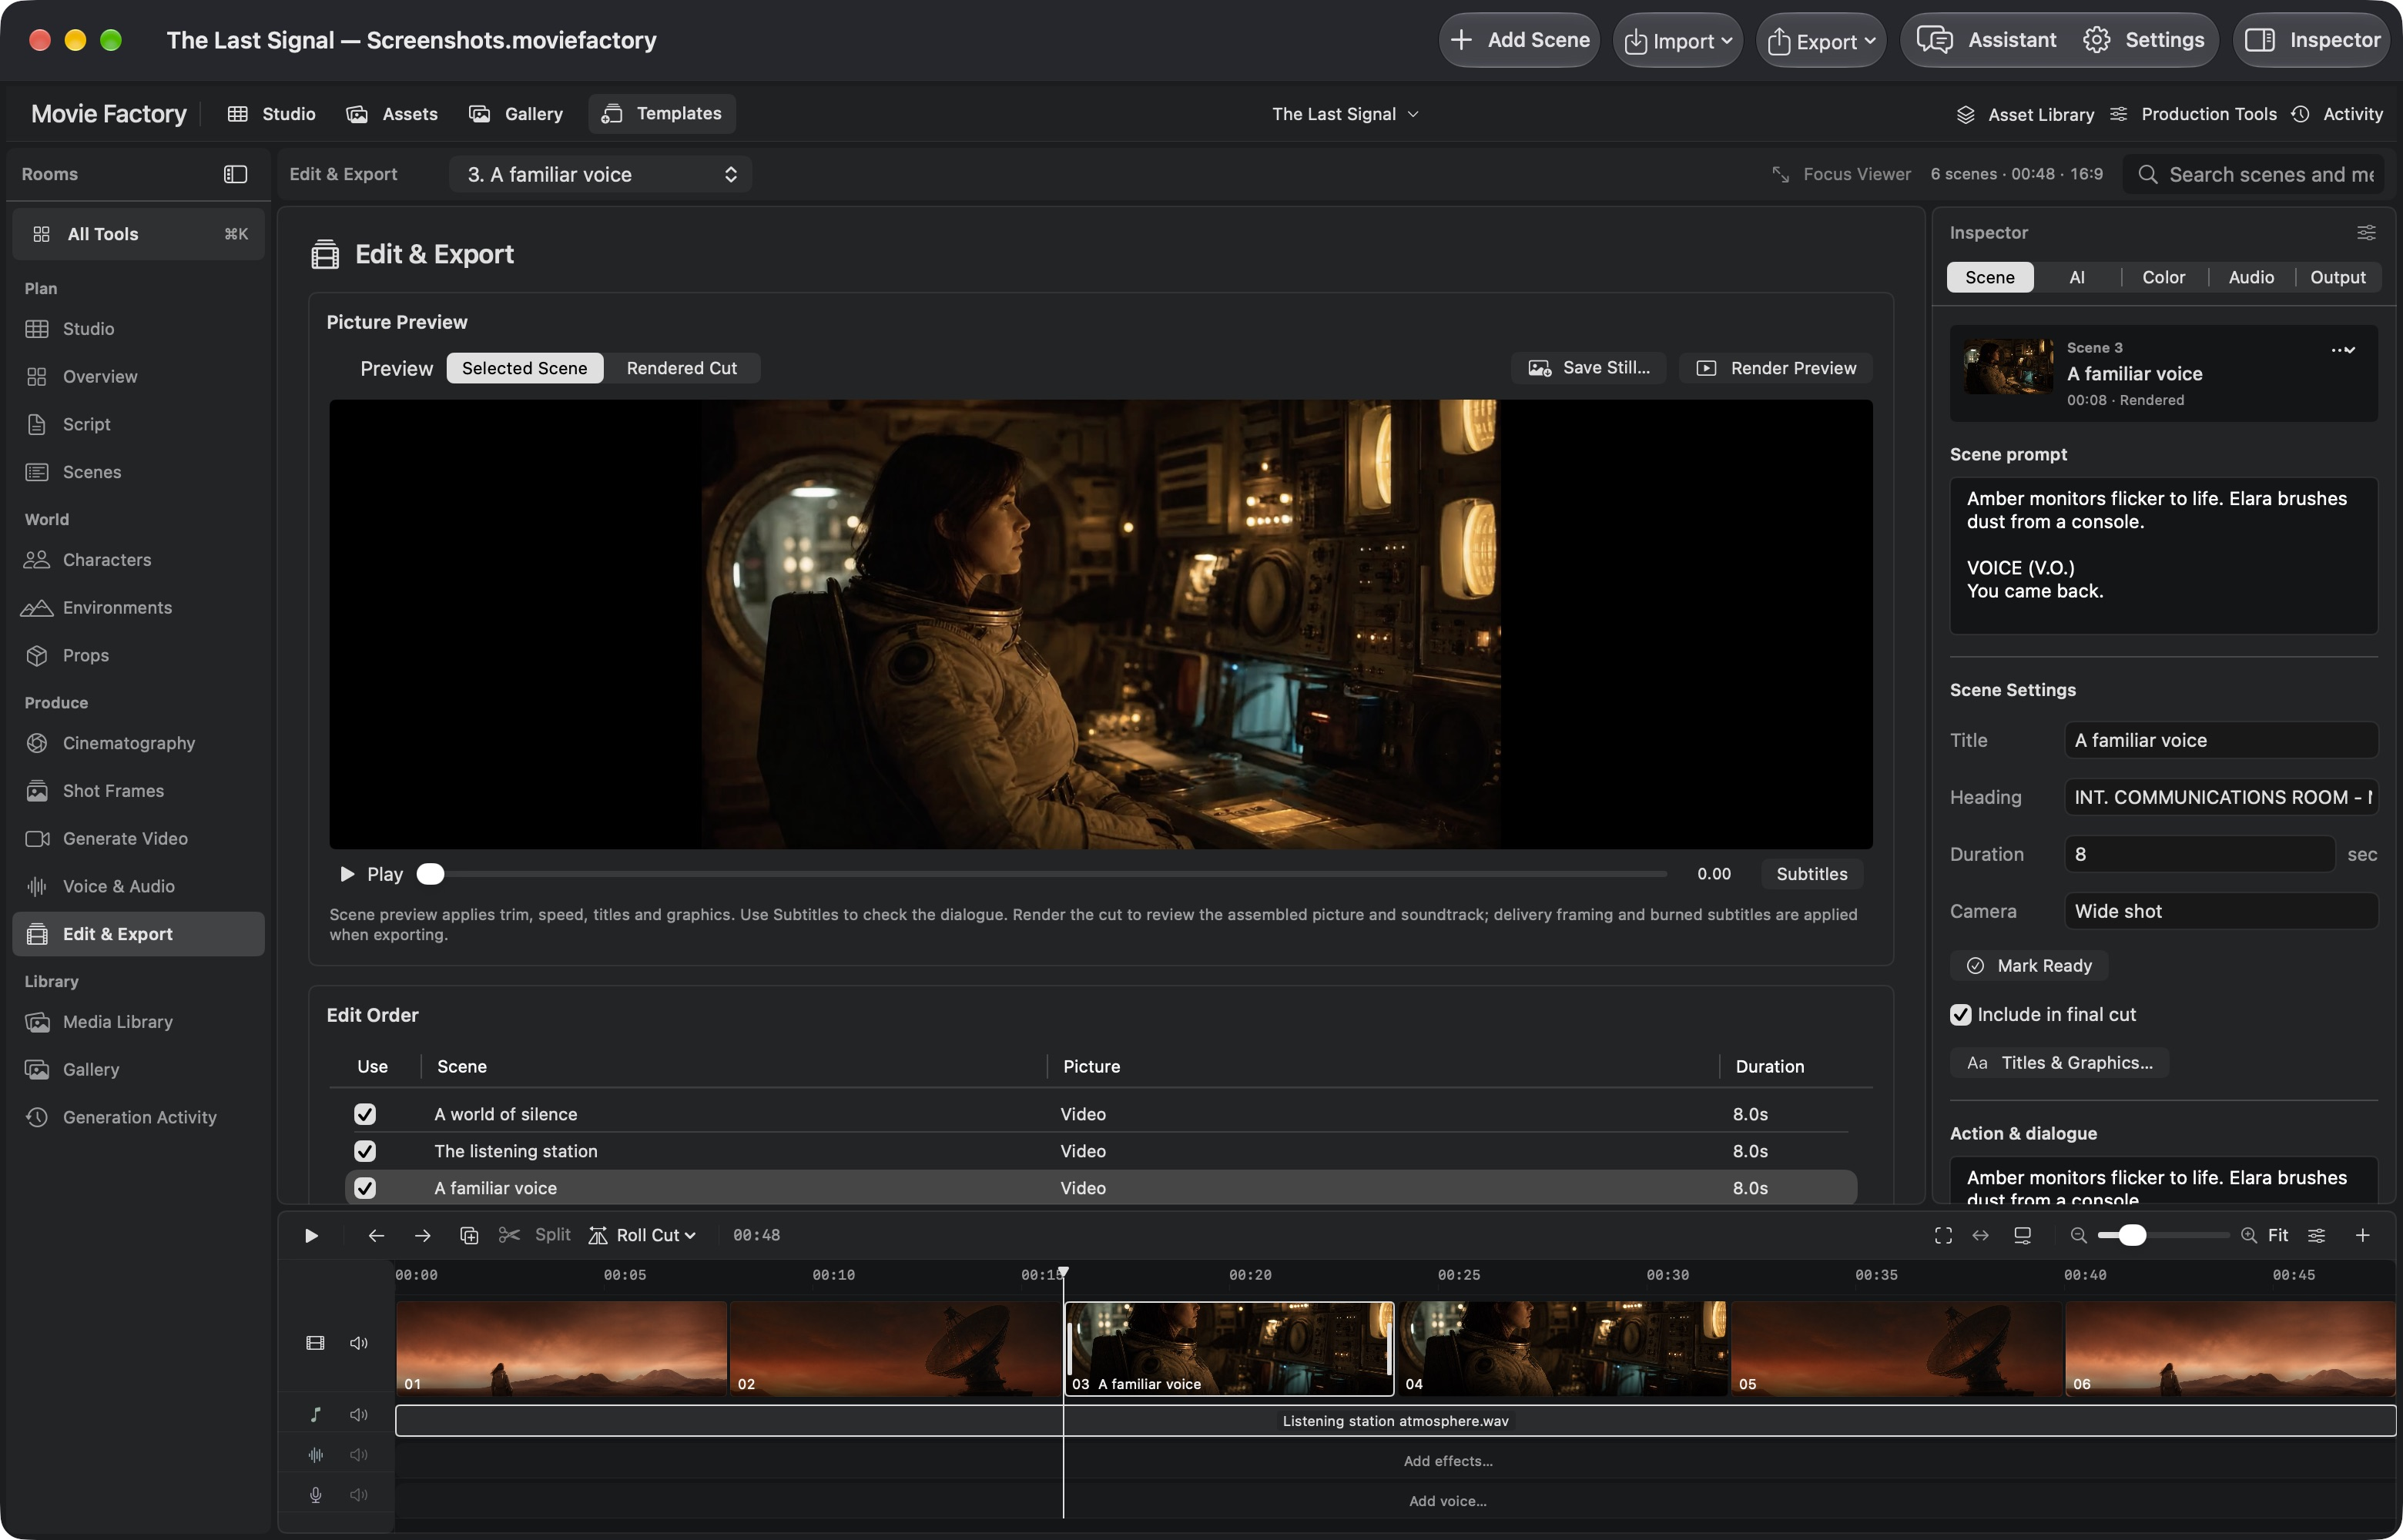
Trim on a frame grid, add titles and motion, measure and balance sound, and deliver up to 4K or a Final Cut bundle.
Browse the film’s media and follow generation jobs and recovered files. Open the separate Asset Library to reuse approved assets across films.
Plan the production, review each candidate and finish the picture and sound. Here is what you can do, and where to find it.
Write or import text and Fountain, save screenplay versions and split the story into scenes. Review AI writing and production-plan drafts before applying them. Discuss the film with the Production Assistant using text or optional voice. Title and lower-third directions become timed on-screen text, separate from picture prompts.
Script → Versions, Import, Split by Scene Headings
Organize characters, sets, locations, props and vehicles with reference views, variants and approved versions. Compose sets from textured, rigged or animated GLB models; adjust instances, materials, lighting and camera, then export a storyboard PNG or composed GLB.
Header → Asset Library
Approve the film’s reference versions and shot intent, then update individual shot reviews as needed. Generate tracked opening and closing frames as candidates for Use Result; review a new opening’s references before generating the closing. OpenAI image settings offer three model choices, seven sizes, up to sixteen references and high-quality JPEG or lossless PNG.
Shot Frames → Review References… → Approve Pinned Context
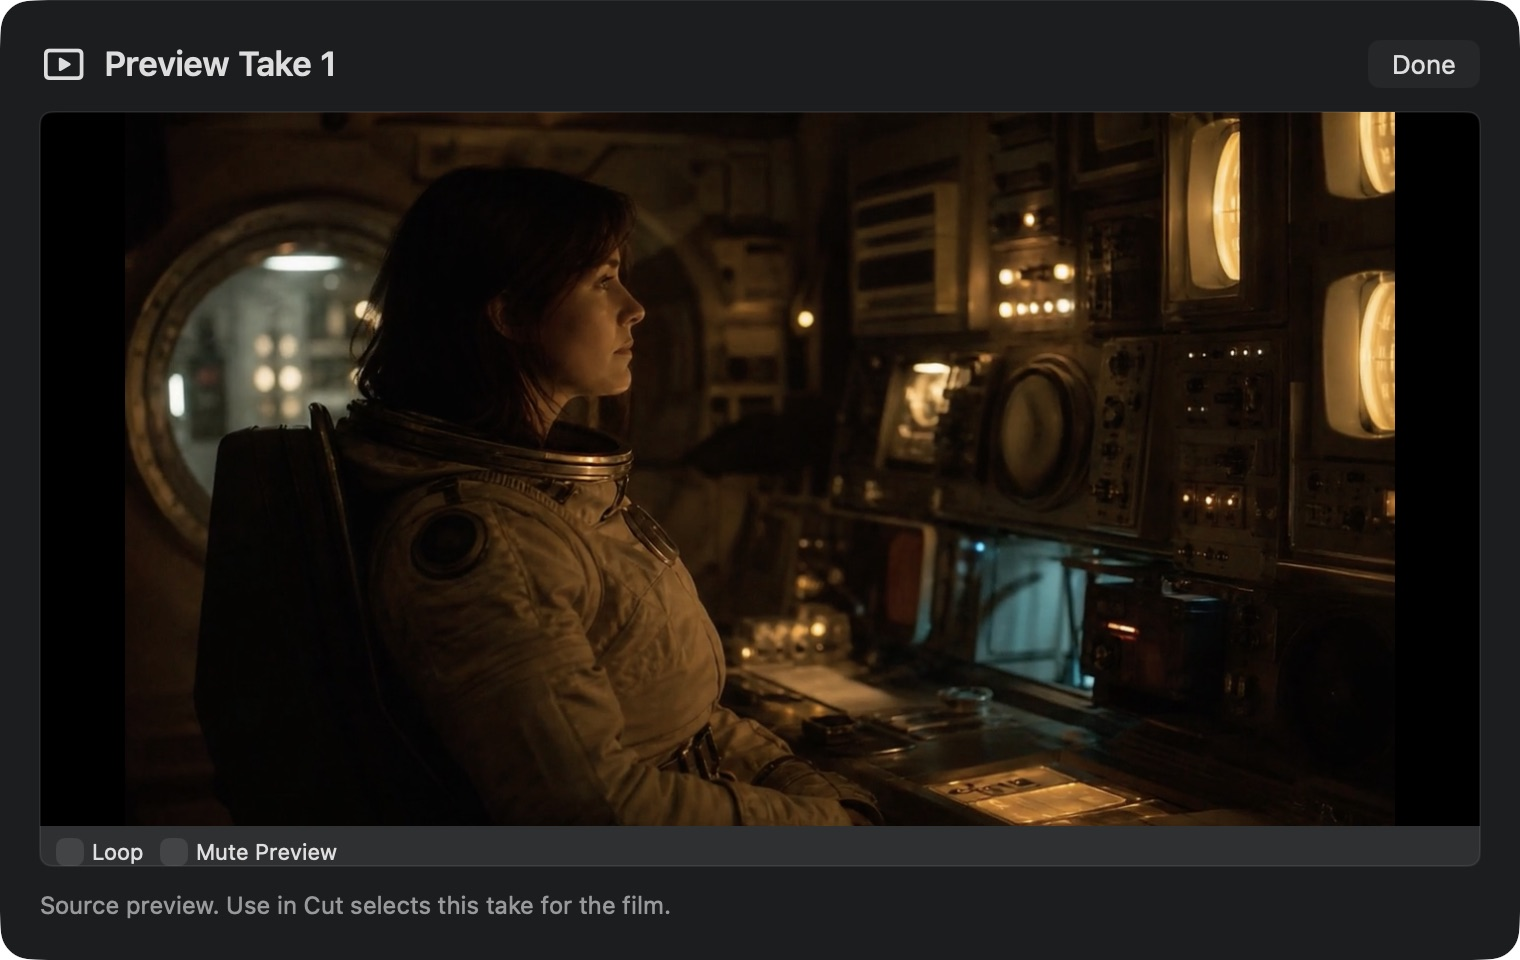
Compare synchronized players with stable take numbers, remembered source starts and speeds, and one audible side. Keep alternates, reject takes, save notes and move through the review queue. Importing a candidate leaves the cut intact until you choose Use in Cut.
Generate Video → Take Review
Block a camera move with local 3D stand-ins and export its storyboard or scene. Search footage, inspect continuity evidence and prepare alternative continuations. Local Director adjusts exposure, contrast and crop, or reduces source-clip volume, with multi-shot plans and fixed painted grading regions. Review candidates before acceptance.
Header → Production Tools · Generate Video → Local Director
Trim on the 24 fps editing grid, snap to cuts, audio and the playhead, and optionally ripple downstream audio. The Timeline menu moves a start or end by one frame with Undo. Set source trim and speed, add zoom, position and opacity keys, fades or a dissolve from the previous picture.
Timeline menu · Timeline → Motion
Create titles, lower thirds, logos and end cards with shared typography, placement, colors and timed cues. Preview them in the native workspace and render them into the movie. Imported logos stay with your local film; saved translations can supply the delivery text.
Edit or Scene inspector → Titles & Graphics…
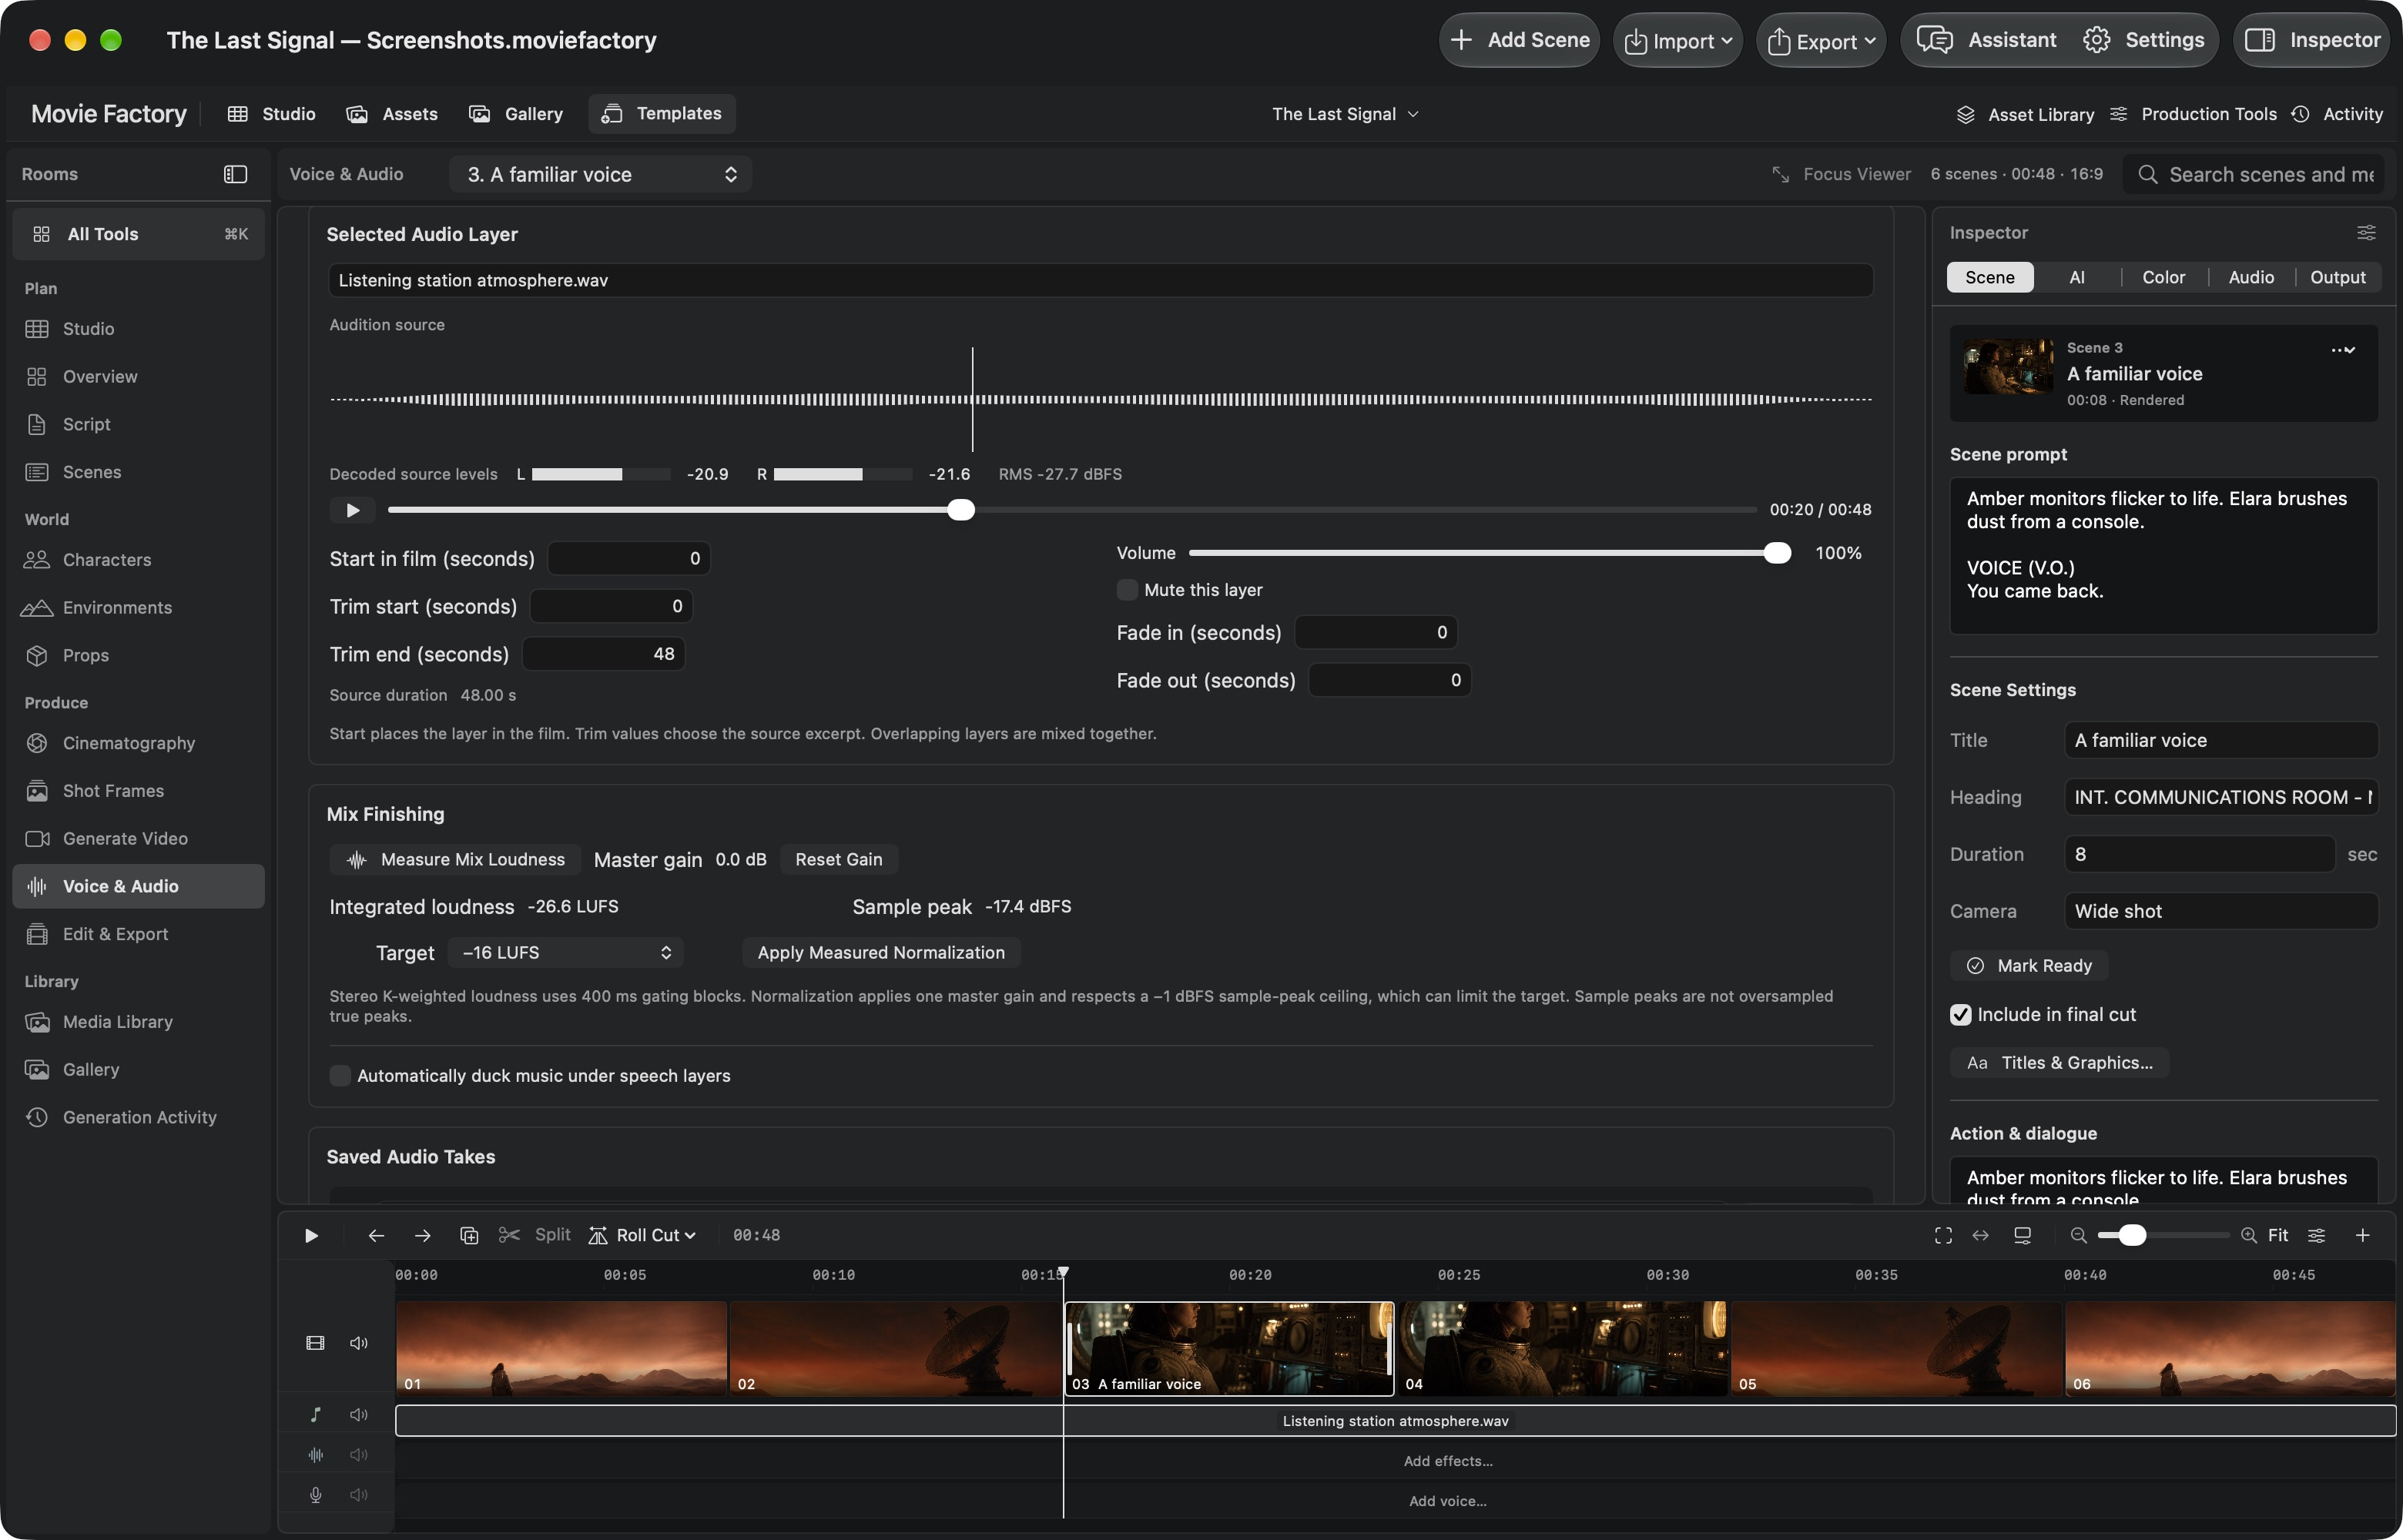
Import or generate speech, music and effects; trim layers, set volume and fades, and inspect decoded waveforms and source peak/RMS levels. Measure the mix’s integrated loudness and sample peaks, apply undoable normalization, and duck music beneath speech layers. The finished mix carries into WAV and movie delivery.
Audio → Mix Finishing → Measure Mix Loudness
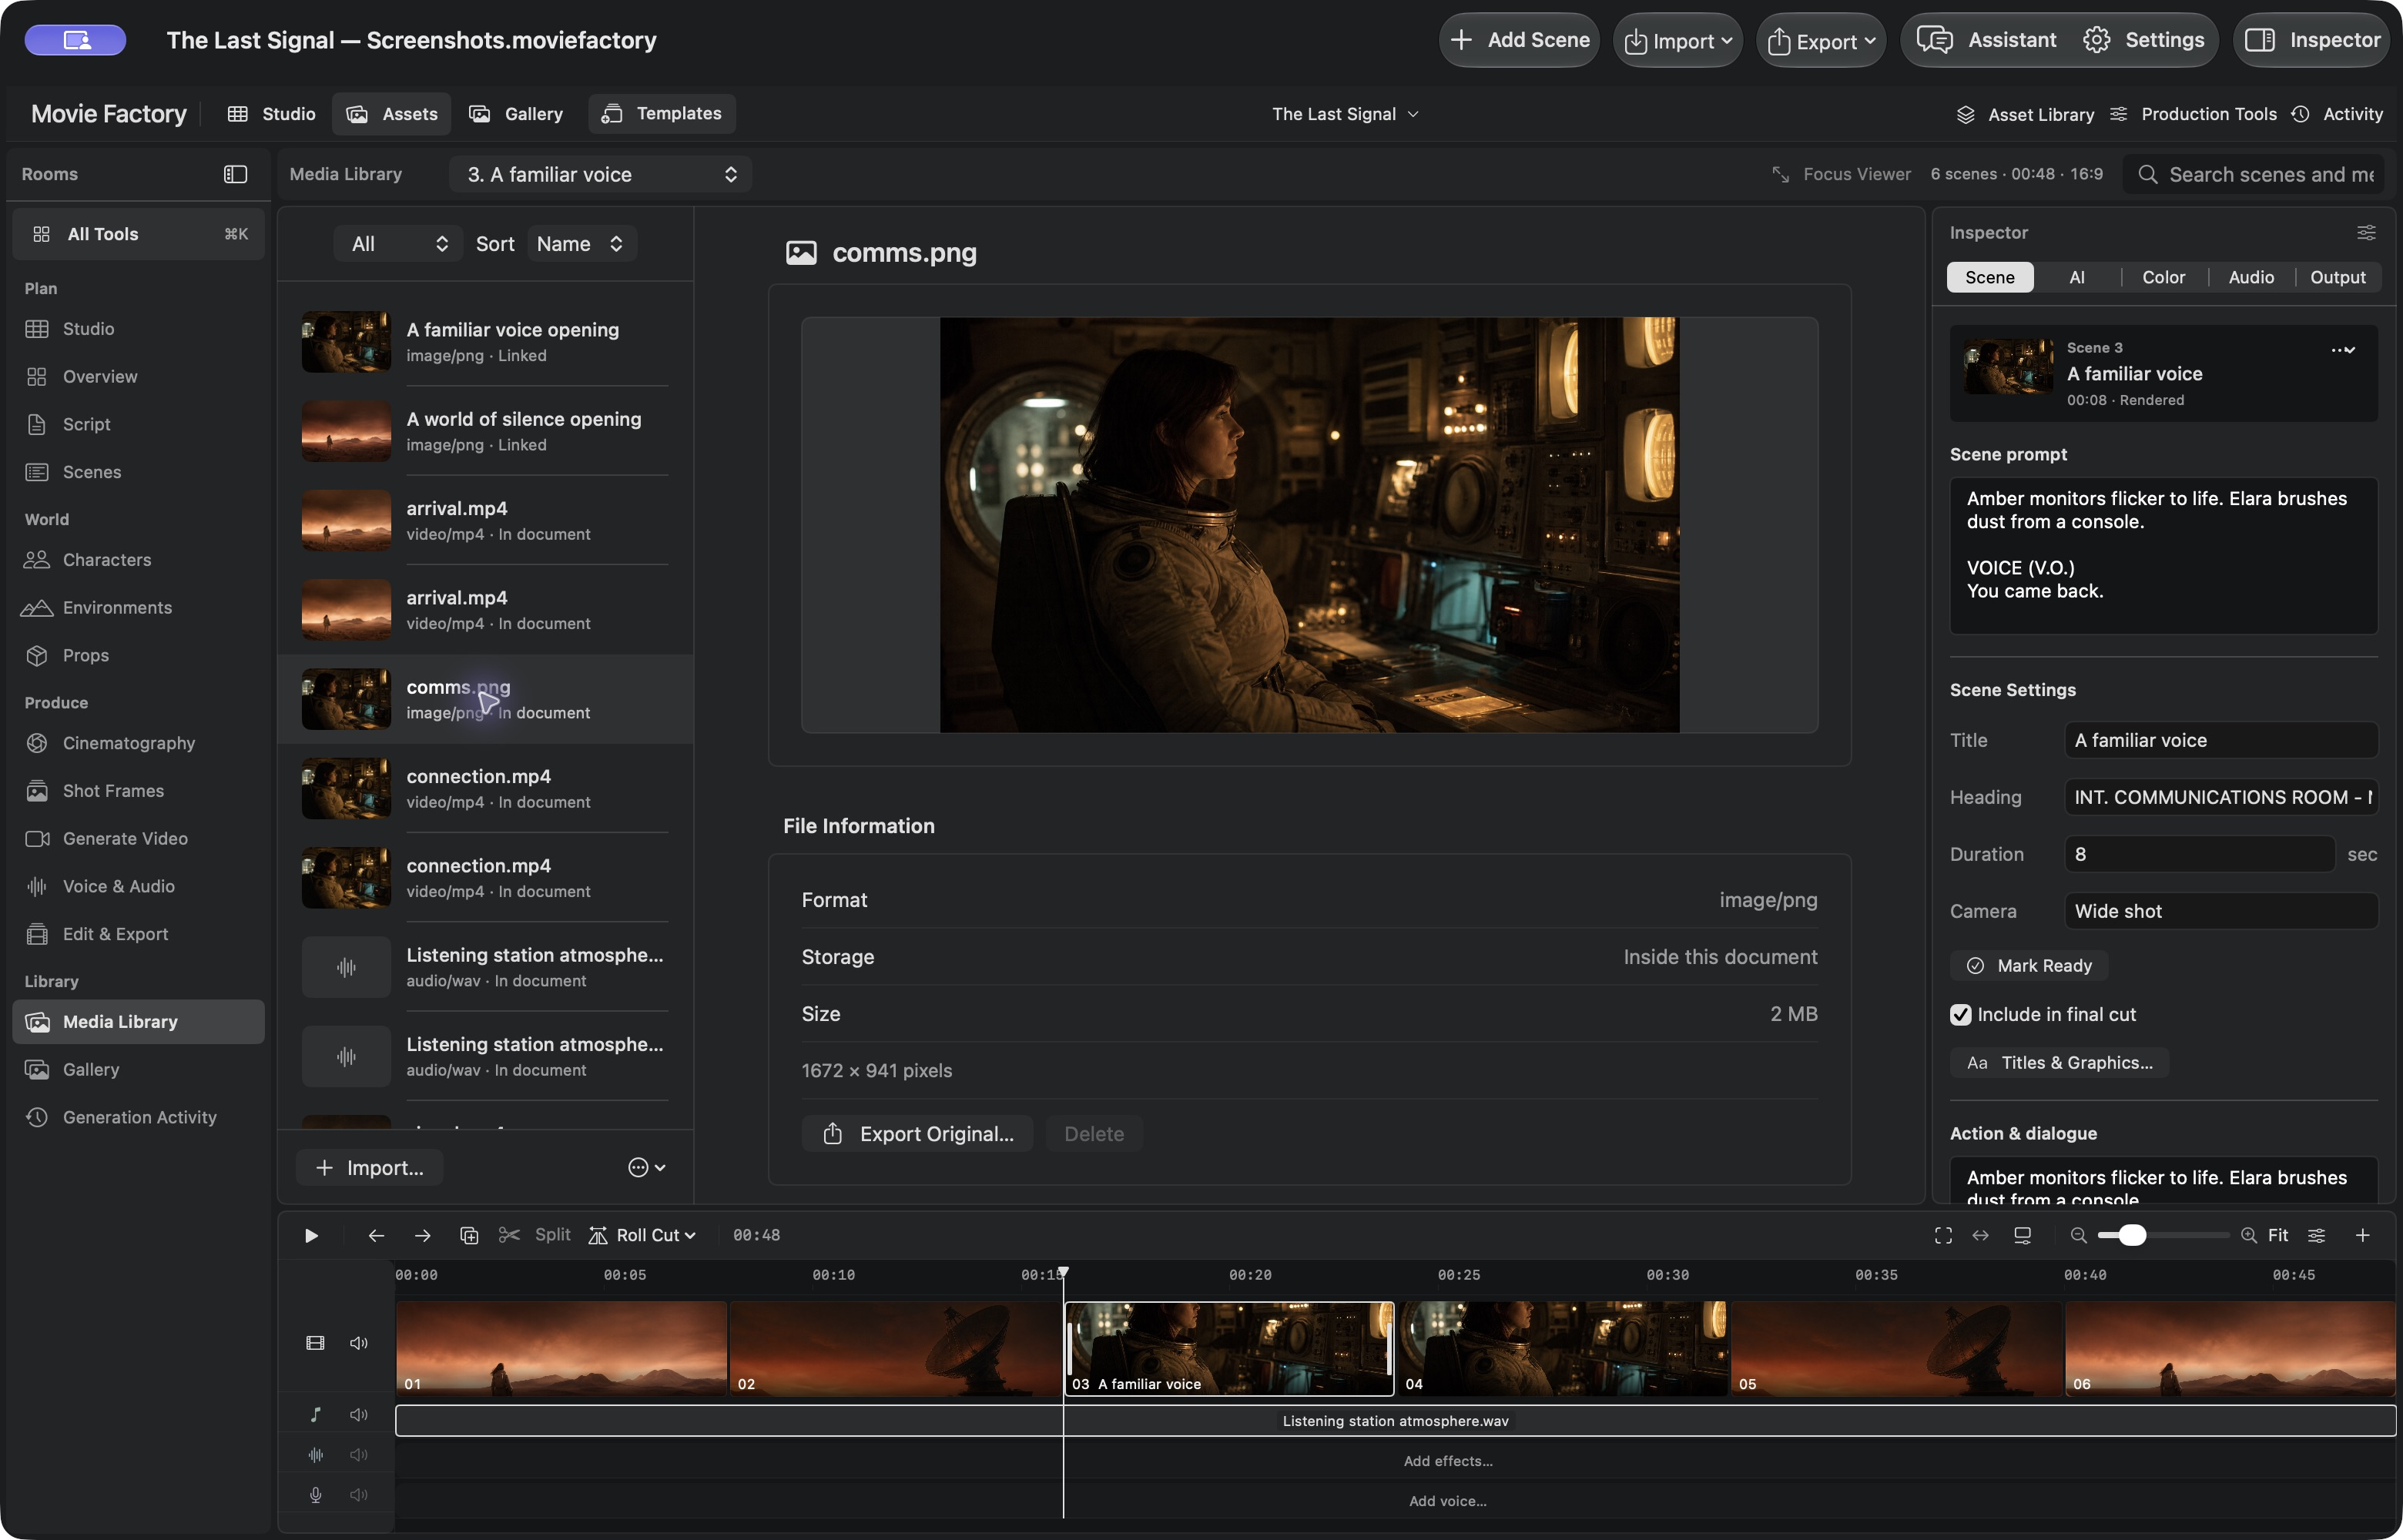
Link large source files, relink the same recorded media after a move, and create lightweight 540p playback proxies. Preview can use a proxy; delivery rechecks and reads the original. A native portable archive collects the files and verifies them when the film is restored.
Assets → Link Original File… · Relink Verified Original… · Create 540p Proxy
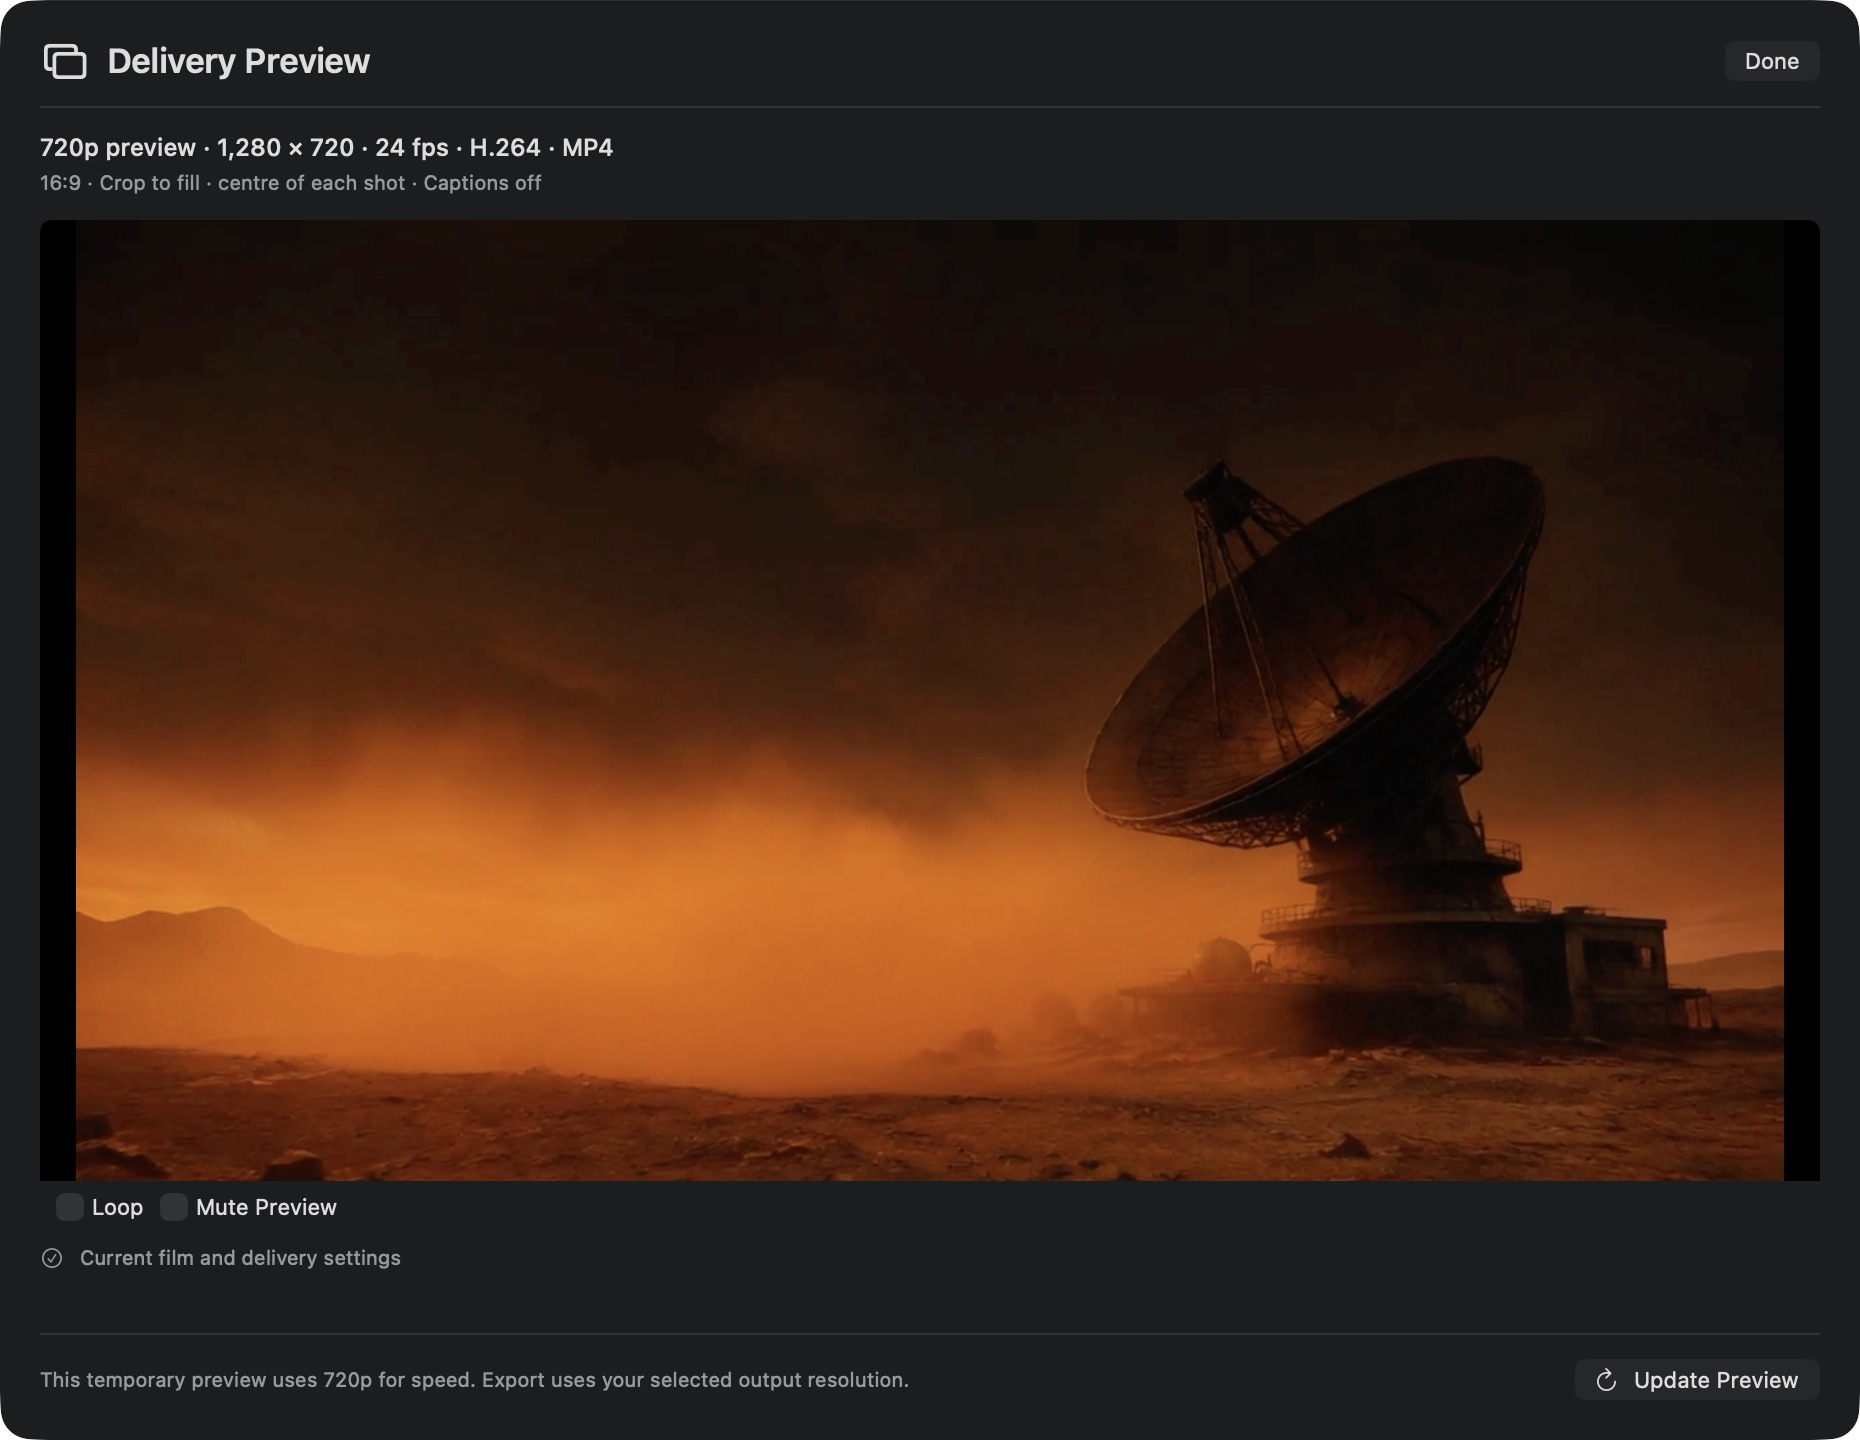
Render cuts up to two hours at 720p, 1080p or 2160p in H.264 or HEVC MP4, or ProRes 422 MOV. Choose eight frame rates from 23.976 to 60 fps and landscape, portrait or square delivery. Export stereo WAV, full-resolution PNG stills, edit lists, SRT/WebVTT subtitles, transcripts and chapters. Translate screenplay subtitles into sixteen languages with OpenAI, then export them separately or burn them into the movie.
Edit → Export Movie · Output inspector
Export a Final Cut bundle with FCPXML, editable cut ranges of the rendered picture master and a separate stereo WAV mix. Titles, speed changes and picture finishing are baked into that master. This handoff does not include source handles, editable Motion titles or separate audio stems.
Edit → Final Cut Delivery…
Connect OpenAI, Runway, Higgsfield, ElevenLabs or your ComfyUI server, with credentials stored in macOS Keychain and sharing enabled per provider. Higgsfield offers Veo 3.1 and Fast at 720p/1080p with eight-second shots, plus Seedance 2.5 at 720p with a fifteen-second shot limit. Core editing, saving and local rendering work without provider credentials; generation depends on your account or installed workflow.
Settings → Providers · Production Assistant
Native delivery uses an SDR, 8-bit picture pipeline. Audio reports sample peaks, not oversampled true peaks. Subtitle timing comes from the screenplay and cut; check it against the finished sound. Final Cut XML validation is complete; an actual import into Final Cut remains a manual verification step.
Save locally on Mac, exchange supported work with the browser studio and keep a backup of the production.
Transfers are explicit, without automatic device synchronization. Native motion, transitions, normalization and ducking survive compatible JSON transfers as saved data, but the browser does not render those native finishing effects. Export a movie when the finished appearance and sound need to travel. Prepared tracked ComfyUI batch export remains a browser workflow.
Read the Mac workflow FAQJoin the moviefactory.ai early-access community. Bring your ideas, your perspective and your ambition. Help shape a filmmaking studio built for independent voices everywhere.